

Last week I shared the mood board for the girl's room, and while that project is the main focus right now, I couldn't help but put a design plan into motion for our living room. It is the space where we spend the most of our time as a family and I have been itching to have it feel a little more like home.
Moving into a new home, and in our case a rental, decorating a new space can be a challenge. As I stated in my last mood board share, in this home I am changing up my decor style and nearly starting from scratch. Because of this, I really want to pick pieces that I love and be intentional about what I am spending money on. Having a design plan/ mood board to work off of helps to keep all of that on track and allows me to see how each room will flow together in my home.
We sold nearly all of our big furniture before our move and started fresh upon arriving in California and one of the very first purchases we made was a new sofa. I have had my eye on the IKEA FARLOV SOFA and fell in love with its sleek modern lines but and slight curve in the arms. The biggest thing I look for in a sofa with young kids is washability, and while most shy away from a white sofa, I personally love it. You can use oxy-clean or bleach to get anything out!
Speaking of washability, I am excited to share a little more about the area rug I have added into our design plan for our living room... With kids, again, spills and dirt happen. Imagine if you could just throw your area rug in the washer? Well, with this one you can! Yes, you can wash it, literally. We decided to go with the SORAYA TRELLIS ASH GRAY RUG from RUGGABLE. I will go more in depth about the features of this rug in our room reveal, but you can bet the investment in a washable rug is worth it!
As well as the girl's room, I will be bringing you along with us as we start to put this room together and of course the full completed reveal. For now, I have linked all of the items included in this design for you to shop below. Disclaimer - some affiliate links used * A small comission from the purchase of these affiliate links goes to help support this little blog of mine and is greatly appreciated! No additional cost will be added to your transaction.

Moving into a new home, and in our case a rental, decorating a new space can be a challenge. As I stated in my last mood board share, in this home I am changing up my decor style and nearly starting from scratch. Because of this, I really want to pick pieces that I love and be intentional about what I am spending money on. Having a design plan/ mood board to work off of helps to keep all of that on track and allows me to see how each room will flow together in my home.
Speaking of washability, I am excited to share a little more about the area rug I have added into our design plan for our living room... With kids, again, spills and dirt happen. Imagine if you could just throw your area rug in the washer? Well, with this one you can! Yes, you can wash it, literally. We decided to go with the SORAYA TRELLIS ASH GRAY RUG from RUGGABLE. I will go more in depth about the features of this rug in our room reveal, but you can bet the investment in a washable rug is worth it!
As well as the girl's room, I will be bringing you along with us as we start to put this room together and of course the full completed reveal. For now, I have linked all of the items included in this design for you to shop below. Disclaimer - some affiliate links used * A small comission from the purchase of these affiliate links goes to help support this little blog of mine and is greatly appreciated! No additional cost will be added to your transaction.
Source List:
AREA RUG | SOFA | ARMCHAIR | OTTOMAN | CHANDELIER | FAUX FIDDLE LEAF FIG | COFFEE TABLE | SIDE TABLE | MIRROR | PILLOWS | STOOL | SURF SHACKS BOOK


Today I am so excited to finally share our DIY daybed build that we created for our oldest daughter's room makeover in our previous home. We wanted to create a bed that fit well with the overall design of her rustic bohemian room, but also was an easy build and all done on a small budget.
Since we already had a metal bed frame for her bed, we chose to cut down on costs by only creating a faux daybed frame around her actual bed. This may sound a little unconventional, but it turned out to be a great solution to cutting wood cost and utilizing what we already had, plus with a bed skirt you can't even tell that the bed is sitting on a separate frame.
Let's dive into the build and the materials that we used:
*This post was sponsored in collaboration with Milton & King Wallpaper - wallpaper material gifted.
One other unique aspect to this build was that we used wallpaper instead of wood. Yes, you heard that right, wallpaper. Let me explain; Originally I had the idea of cutting reclaimed wood pieces into a chevron or a herringbone pattern then attaching those pieces to the plywood backing and sides of the bed. After pricing out materials, it was going to be both costly and time consuming. Not to mention the weight that the bed would actually come out to be when finished. That's a whole lot of wood. Here's where the light bulb went off in my head... why not use wallpaper that looks like actual wood!

Wallpaper is not what it used to be, there are so many realistic looking patterns out there now and many of the styles are easy to work with and apply, even for beginners. Milton & King has a great selection! From real looking shiplap, to reclaimed wood to patterned tile.
For our project, I decided to go with the Rustic French Chevron.
For our project, I decided to go with the Rustic French Chevron.
While you may look at the price and question spending that amount on a simple diy project, let me break down why we went with this option over actual reclaimed wood. As stated above, I did my research on the cost of actual reclaimed wood. Let me tell you friends, it is not cheap. They make you pay for that rustic goodness! When working with reclaimed wood, you will need to over-buy to over compensate for any cuts that may go wrong, along with the fact that many bundles of reclaimed wood are not all of the same lengths, therefore there is bound to be a lot of wasted material. Secondly, all of those cuts take time... a lot of time. Piecing them together like a puzzle. Maybe you are someone that enjoys the challenge, and kudos to you! I on the other hand am what you call a "lazy builder". Give me the fastest, easiest way to complete a project!
This project is for the fellow lazy builder or maybe someone that is just diving into their first build and may not have all of the tools or experience to make all of those angled cuts, but loves the look.

This plan is just for the BACK and SIDES of the bed. Again, we assembled the 3 sides to fit around the existing twin metal frame and bed.
Wood & materials you will need:
2 - Sheets of sanded plywood, 4 feet x 8 feet
1 - 1x4 @ 6 feet long
3 - 1x2 @ 8 feet long
3 - 2x4 @ 8 feet long
2 - 1x3 @ 8 feet long
1 - 2x2 @ 8 feet long
Tools you will need:
MITER SAW
CORDLESS NAIL GUN
SPRAY ADHESIVE
STAIN SEALER
1-1/4" KREG SCREWS
120 GRIT SANDPAPER
GLOVES
COTTON RAGS
PAINT BRUSH
After we had all of our main pieces cut to size, the first step was using our Kreg Jig to drill our pocket holes into the sanded plywood. *This is important to do before adding the wallpaper! Also, do not assemble any pieces together until you have wallpapered your plywood and have allowed it to dry overnight.
With any diy, there are always bound to be some trial and error mistakes involved, and with wallpapering raw wood, we just had to dive in and see what worked best. I started off by using regular wallpaper paste which was recommended to me by the Milton & King team. Unfortunately, because of the weight of the wallpaper (which is amazing quality I might add) and the fact that I was applying the paste to the absorbent wood, the paper wasn't sticking like it would to drywall. After brainstorming, my husband was the one to suggest a heavy duty spray adhesive. We tested it on a smaller leftover board first and it worked better than we had anticipated! It was a winner!
Follow the directions of the spray adhesive as stated on the packaging, and always remember to spray in a well ventilated area.
This is important:
You will want to ONLY apply wallpaper to the sides of the plywood that DO NOT have pocket holes on them FIRST. You will apply wallpaper to the other sides (with pocket holes) AFTER the legs are assembled to them.
Before spraying the adhesive on your plywood, cut all of your wallpaper roughly to the sizing of your plywood, leaving an extra inch or two hanging off of the edges that you will trim up later. The brand of adhesive that we used stated to spray 3 coats quickly, let stand for 1 min until tacky then apply paper. I highly suggest that you have 2 people when working on applying the paper. You will need to work quickly, and because you are papering a smaller surface than a full wall, the paper has a tendency to curl up and be difficult to lay flat without 2 sets of hands. Once your paper is placed down, smooth out with your hands, making sure to always work outwards all of the air bubbles and extra adhesive.


knife to trim up the extra wallpaper around the edges.

Next, you will attach the 2x4 legs to the sides of the bed using your Kreg bit and your 1-1/4" pocket hole screws. Once both legs are attached, you can then wallpaper over the sides with the pocket holes in them.
First cut your wallpaper approximately to size again. Before beginning to use the spray adhesive, use a piece of cardboard, a scraper tool or tape the legs off to block the spray adhesive from getting onto the legs. You then can begin spraying and laying down your sheets of wallpaper and trim up the excess after it has had ample time to dry.
Once your side pieces are wallpapered on both sides, you can assemble each side to the back headboard, creating a 3 sided frame when complete.

Once your 3 sides are assembled, you are ready to slide your twin bed (on it's metal frame) into the 3 sided frame you just completed for an easy DIY (faux) daybed!

Hey there friends! It's been a long time since I have shared anything decor related on the blog... between preparing to move, actually moving across the country and getting settled here in California, decor projects have kind of been on the back burner. Later this week I plan to share more about where we are at currently in the decorating process with our new home and catch you all up on life after the move, but today I wanted to dive into sharing the very first project on our list to come: the kid's room.
In our previous house, the girl's each had their own rooms. After moving into this home, we had planned on having the kids each in their own room again, but our current home's floor plan has one bedroom being on the first floor and the other on the third floor with the master bedroom. Call me a paranoid parent, but I just couldn't sleep at night knowing one of them was so far away! Problem is, the bedroom on the third floor is small. We are talking tiny... and trying to fit two beds in there was going to be a challenge. But, you all know me, and know I am always game for a good design challenge.
Planning out not only how we would fit both kids, plus toys and their clothing all into a small space, but how to do it all on a tight budget, I knew I had my work cut out for me. I will let you into my process of how I begin to plan and design a room:
1. Set your budget - No matter if you have a small or large budget, planning out how much you actually want/ can spend total on your project(s) keeps you on track.
2. Plan your floor plan - For this I have always found the best process to be good old pen and paper. I begin by drawing out the floor plan (this does not need to be accurate) and then draw out each piece of furniture I need to fit into the room on a separate piece of paper. I then cut those pieces out and work different layouts within the floor plan and settle on a plan that works the best.
3. Find your style - Take to Pinterest or Instagram to search similar spaces to the one you are trying to design and narrow down your style for the space you are creating. Once you have a general idea of the style direction you want to head in, source items you would like to see in your space, screen shot or save them onto a designated Pinterest board.
4. Piece it together - Make a mood board. I never get started working on a project without completing this step first. It really find it a necessity for staying on course with my style, budget and layout. This allows me to get a final feel for how the room will turn out without going out and spending money blindly. Even if I cannot find a photo of the exact item that I want or I add in an image of a product that is far outside of my budget, I can use the image for reference to find what does fit within my budget and stay on track with exactly what items I need to purchase for the space. My favorite apps to use for creating mood boards are RHONNA COLLAGE and CANVA
Below I have linked everything in this mood board : Disclaimer - affiliate links used *A small commission from the purchase of these affiliate links goes to help support this little blog of mine and is greatly appreciated! No additional cost will be added to your transaction.
In our previous house, the girl's each had their own rooms. After moving into this home, we had planned on having the kids each in their own room again, but our current home's floor plan has one bedroom being on the first floor and the other on the third floor with the master bedroom. Call me a paranoid parent, but I just couldn't sleep at night knowing one of them was so far away! Problem is, the bedroom on the third floor is small. We are talking tiny... and trying to fit two beds in there was going to be a challenge. But, you all know me, and know I am always game for a good design challenge.
1. Set your budget - No matter if you have a small or large budget, planning out how much you actually want/ can spend total on your project(s) keeps you on track.
2. Plan your floor plan - For this I have always found the best process to be good old pen and paper. I begin by drawing out the floor plan (this does not need to be accurate) and then draw out each piece of furniture I need to fit into the room on a separate piece of paper. I then cut those pieces out and work different layouts within the floor plan and settle on a plan that works the best.
3. Find your style - Take to Pinterest or Instagram to search similar spaces to the one you are trying to design and narrow down your style for the space you are creating. Once you have a general idea of the style direction you want to head in, source items you would like to see in your space, screen shot or save them onto a designated Pinterest board.
4. Piece it together - Make a mood board. I never get started working on a project without completing this step first. It really find it a necessity for staying on course with my style, budget and layout. This allows me to get a final feel for how the room will turn out without going out and spending money blindly. Even if I cannot find a photo of the exact item that I want or I add in an image of a product that is far outside of my budget, I can use the image for reference to find what does fit within my budget and stay on track with exactly what items I need to purchase for the space. My favorite apps to use for creating mood boards are RHONNA COLLAGE and CANVA
Below I have linked everything in this mood board : Disclaimer - affiliate links used *A small commission from the purchase of these affiliate links goes to help support this little blog of mine and is greatly appreciated! No additional cost will be added to your transaction.
Source List:
BUNK BEDS | FLUSH MOUNT LIGHT | WALL SCONCE | LIFEGUARD TOWER PRINT | BASKETS | DRESSER | MERMAID DOLL | DUVET COVER | STARFISH PILLOW | SURF FLAG | BEDDING
*Sheets shown in image are no longer available but here are a few similar styles: MERMAID SHEET SET | SHARK SHEET SET | WHALE SHEET SET | SEA MONSTER SHEET SET
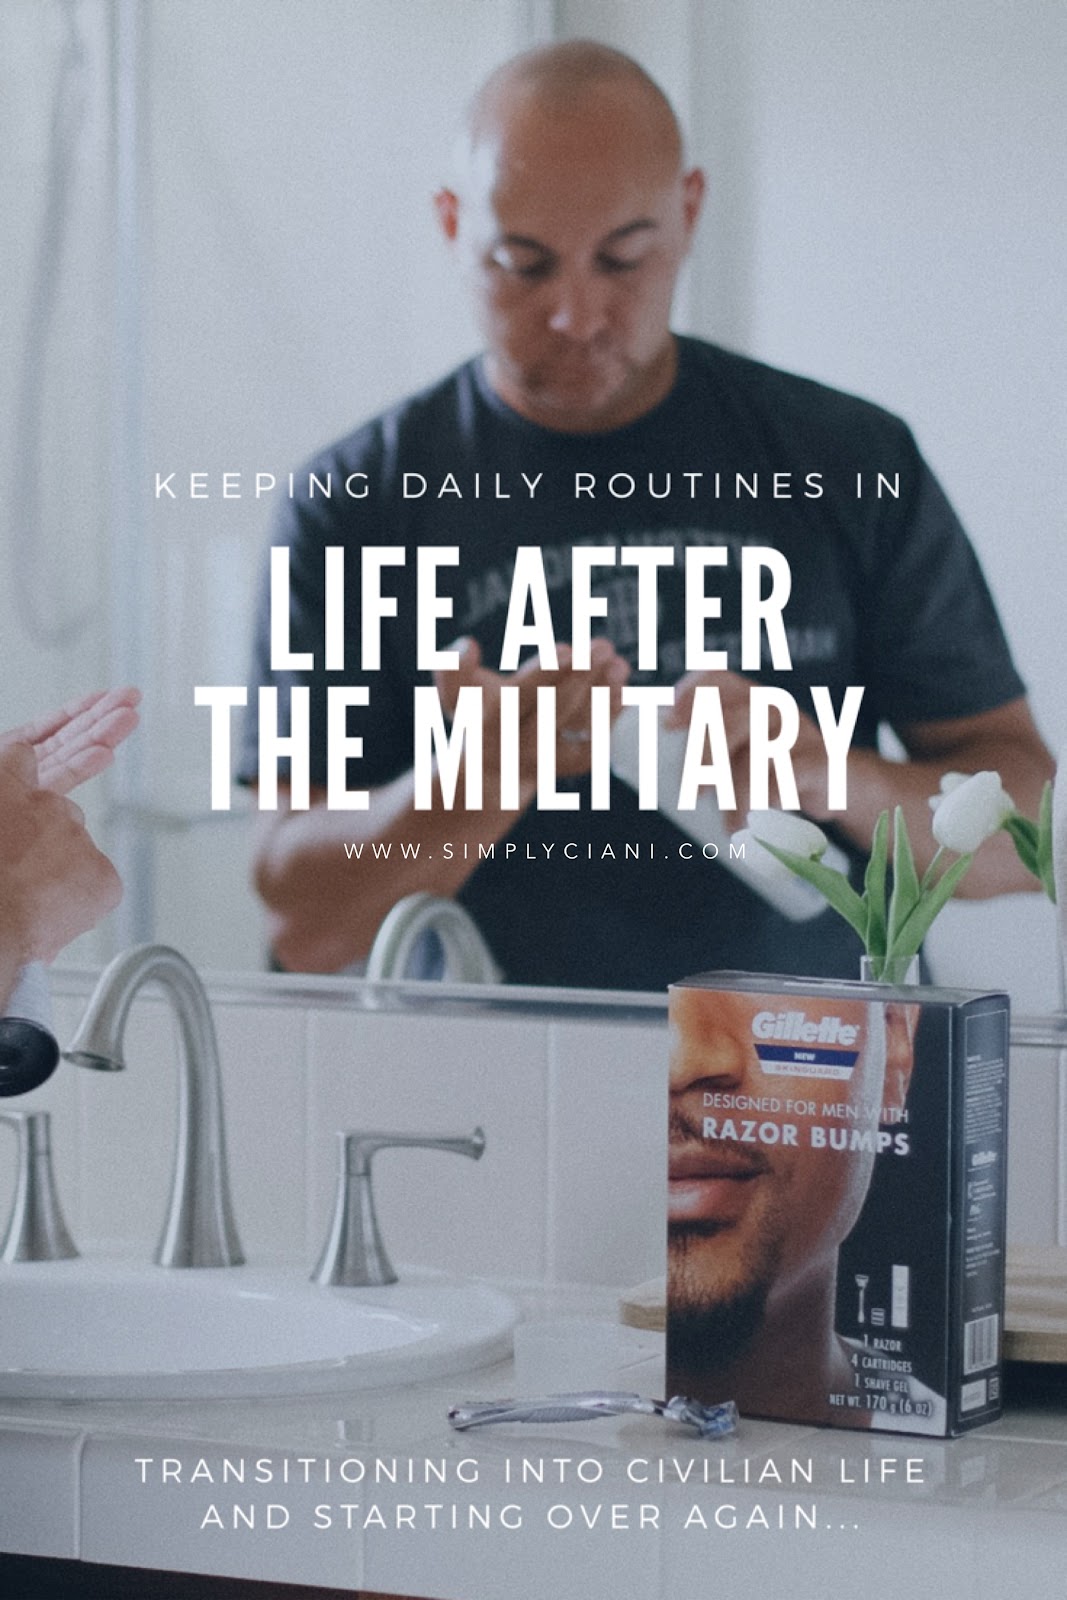
*This is a sponsored post by Gillette SkinGuard
in partnership with Gillette's new SkinGuard razor available at Walmart
Meet Derrick. The other half of Simply Ciani. He is the man behind all of our DIY’s and builds, but we have yet to shine a spotlight on him... and while he may hate this, here we go...
Anytime I am explaining Derrick’s personality to someone new, I always say “He is a Marine through and through.” He’s rugged, serious most of the time, with the occasional sarcastic joke and doesn’t take anyone’s you know what. He finds his happiness in boots and jeans and being out in the middle of nowhere. He will lend a helping hand to anyone that needs it and always will have your back. He is a hero in every sense of the word, although he hates being called one. He will put his own life in danger for anyone at anytime and jumps into action. (I have seen this first hand at any accident scene we have witnessed).

Derrick started his 10 year service to the Marine Corps in 2006. He joined because he wanted to do something more with his life, he wanted to serve a purpose. He started his career at Perris Island, then joined the few and the proud at his first duty station in Kings Bay, Georgia as security forces. Two years later he was on his way to an infantry unit at Camp Pendleton, California where he served his next 5 years and where I fell into his life. Literally. (More on that story another time - it’s a funny one) After 3 years of marriage for us, the Marine Corps reassigned him to recruiting duty for 3 years and moved us back to Georgia just 40 miles from where he started his career.
Within his time as a Marine, his body took quite a beating and resulted in 2 full knee surgeries, left him with arthritis and an array of back issues. After 10 years, he felt it was time to put away the uniform, but it was far from an easy decision. Being a Marine was his identity. He was a rare breed and we both worried how life would look after the military.
The transition was difficult. And really, that word should be in all caps, because it was a doozy on both of us. Life in the military comes with its own set of challenges and hurdles to overcome both individually and as a couple, and they are hard as heck, but we made it through. Life after the military brought more than I ever imagined. We both had to get to know ourselves again, and each other. Being in the military, many times, your relationship is put completely on hold and as a spouse, you often get so used to being alone and doing everything alone. It was a huge transition to have a husband who was suddenly present but didn’t know how to be present. (Not by his own fault.)
The transition was difficult. And really, that word should be in all caps, because it was a doozy on both of us. Life in the military comes with its own set of challenges and hurdles to overcome both individually and as a couple, and they are hard as heck, but we made it through. Life after the military brought more than I ever imagined. We both had to get to know ourselves again, and each other. Being in the military, many times, your relationship is put completely on hold and as a spouse, you often get so used to being alone and doing everything alone. It was a huge transition to have a husband who was suddenly present but didn’t know how to be present. (Not by his own fault.)

In his case, he too was so used to being a provider, and gone because of that. When on the journey to find a civilian job, he lost his identity as a Marine and desperately tried to find a job, any job, that would accept his experience. That one proved more difficult than he thought it would be. And when a job didn’t fall into place, he began to spiral out of control with emotions.
I share all of this with his permission, because we both agree that there are so few resources out there for those transitioning out of the military. It can feel isolating, and no one else can relate unless they have gone through it too. That is why we have decided to share more of our story, both sides of it, and be completely open and transparent about the struggles we faced during D’s transition into civilian life.
FROM MY SIDE, AS A SPOUSE:
For so long, I found an identity in “being a military wife”. There is a lot that comes with that title and a standard to uphold. I never agreed with “wearing your husband’s rank” but I do believe that you as a spouse to your military member need to uphold a level of dignity in his honor. You are the other face of the duo that you are and your actions reflect on him and his career. This may sound harsh, but it is the way it is.
My days as a military wife were mostly spent alone, taking care of our children, and doing everything else that needed to be done. I didn’t have a spouse to rely on for helping with bath time or anything for that matter. I don’t mean for any of this to sound negative, but this was our life. You just had to get used to being a solo spouse and parent, for days, weeks, months or even years on end. Their career came first and you knew that from day 1. The other side of military spouse life was filled with unit parties/ meetings/ get-togethers... the majority of your life was centered around your spouse’s career, information about deployments/ training and putting on a happy face when you felt at your limit some days. It was tough, but those were some of the best years I have to look back on. I was made stronger as a mother, a wife and a woman because of it. And I will always be proud of my Marine.
When D’s career came to an end, I also lost that identity. Suddenly all of my military wife friends, I emotionally felt disconnected from. The best way I can describe this is when you get kicked out of a club. Not that they stopped talking to me or anything along those lines (because they are all amazing and we still are all friends!) but because you suddenly are living a very different life and no longer can relate or support each other on certain levels like you did previously. I felt myself feeling very isolated and lost. I had a husband who was spiraling, for his own reasons, and I had no idea how to support him, or “fix it”.
It took a lot of soul searching and a lot of phone calls to those military wife friends of mine for support and advice in that first year of civilian life. But eventually both he and I found our own way to communicate with each other again and work our way back to a new “us”. I will dive more into all of this in another post, because I feel it is important to share the tools we used to help us, but my main piece of advice is to never give up on each other. Transitioning into civilian life is going to be tough on both partners for different reasons, but you need to both be willing to take a step back and understand you are in it TOGETHER.

FROM HIS SIDE, AS A MILITARY MEMBER:
(In Derrick’s words)
Ask any marine about their transition into civilian life and most won’t want to discuss it, or just skip over the negative stuff and go right to the “everything is great” talk. Myself included. Even writing this that my wife somehow convinced me to write, I don’t know where to even start.
Before getting out of the Marine Corps I saw life after as better, I thought I would be free to have any job that I wanted. I thought I would have my weekends and nights free again. Little did I know then, how different living as a civilian would be.
Fining one good paying job didn’t happen. I spent months searching for a yes but kept getting no’s. I eventually ended up working three lower paying jobs just to make ends meet because that is all I could get.
I am not a man who talks about feelings publicly, but I do agree with my wife when she says that there isn’t much out there for service members to find real life stories about others who have transitioned into civilian life. We want to be a small part in reaching someone who might be struggling.

Transitioning out was harder than I thought it would be, and I was met with the reality that I had a lot of personal issues to face. I was in denial about that for a long time but I knew that my wife wouldn’t be able to help me with that until I helped myself. It was on me to fix it.
I am still working on the things I need to, and most days I still shut down but the key is to learn to lean on your partner. They may not understand exactly what you are going through, but they are there to support you and you have to allow them to. I didn’t do a great job of that at first, and thought I could handle it all on my own. That is what we as men are told to do. But after getting to to edge of my wife at a loss of how to communicate with me and support me, I had to allow myself to let her in.
By doing so our marriage strengthened and we learned how to be partners. Something we had never had due to both living solo for so long.
The transition will likely be difficult but take one day at a time and accept that there are things that you cannot carry just on your own. Lean on your spouse. Lean on a brother. Find someone you can trust and work through it. Eventually all will fall into place, emotions and a job... but it will take time. Just know you are not alone in this journey.
LIFE MOVING FORWARD...
Nearly 2 years have passed since Derrick’s last day in a Marine Corps uniform, but he didn’t fully hang up wearing a uniform for good. After working 3 jobs for about a year, he was hired on as a Police Officer in Georgia and served our community for over a year before we made the decision to chose where we wanted to live and really begin our new lives. Neither one of us felt like Georgia was “home”, it was where the military put us and made the most sense to stay after transitioning out. But it was always just temporary. A few months ago, we made the big decision to take the leap and move back to California to raise our children near family.
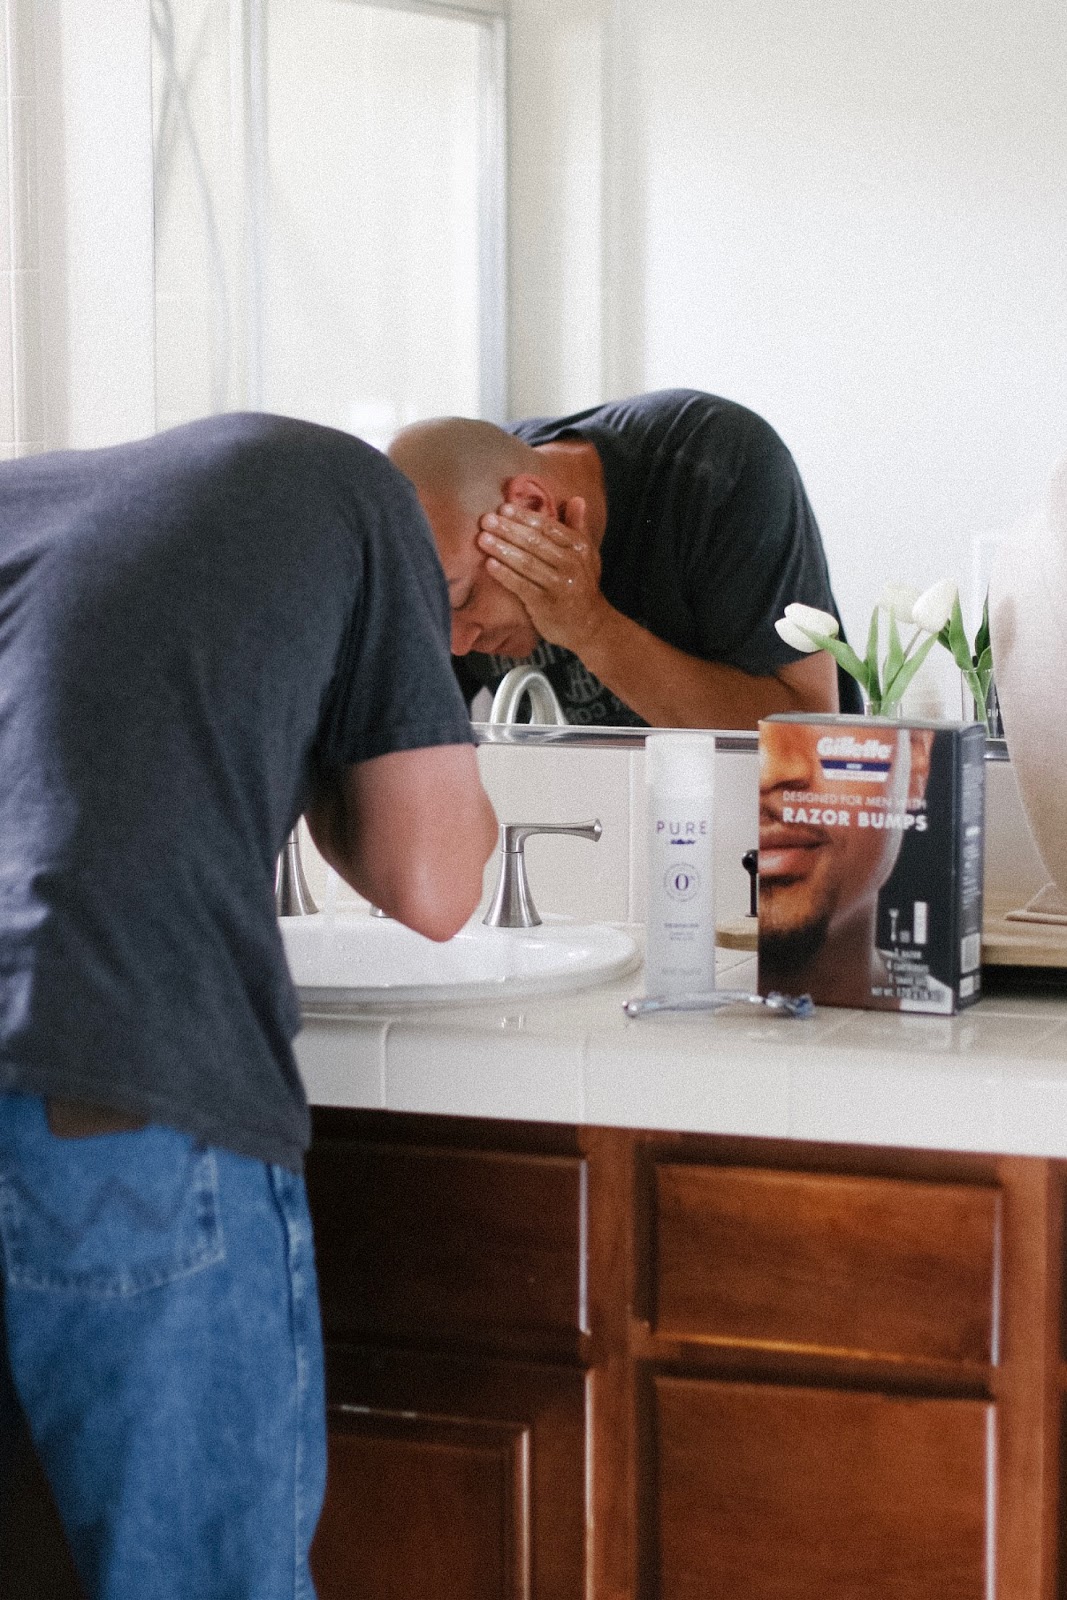
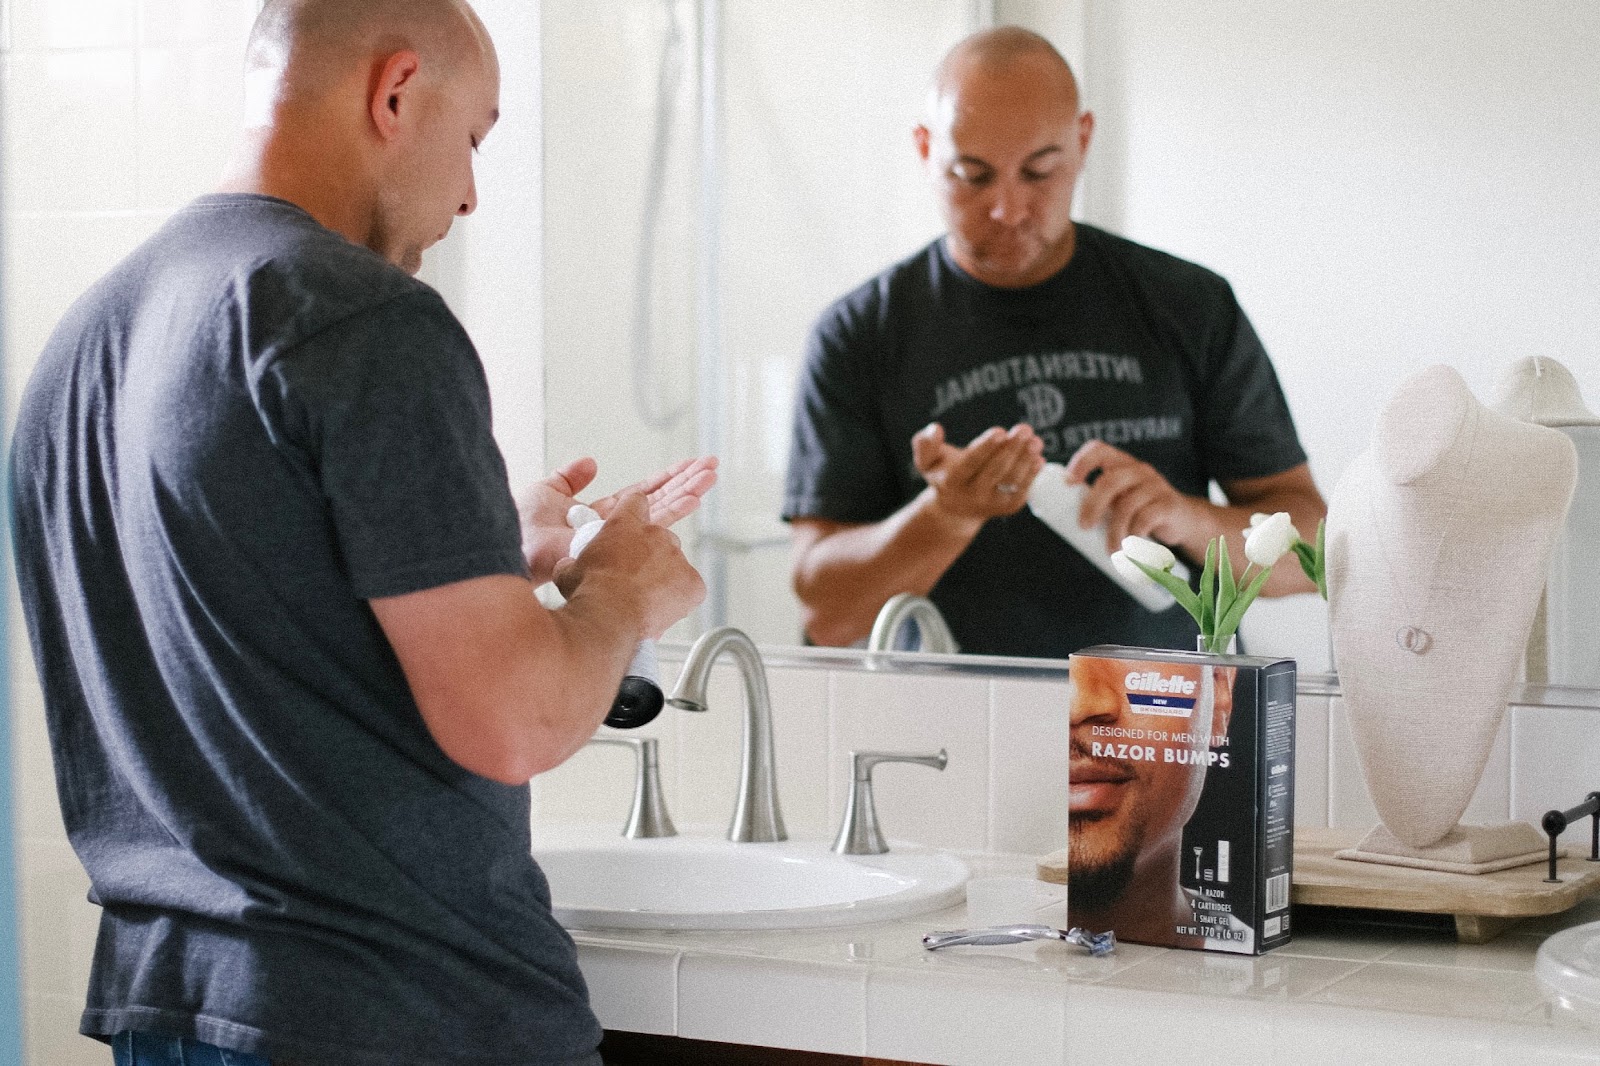
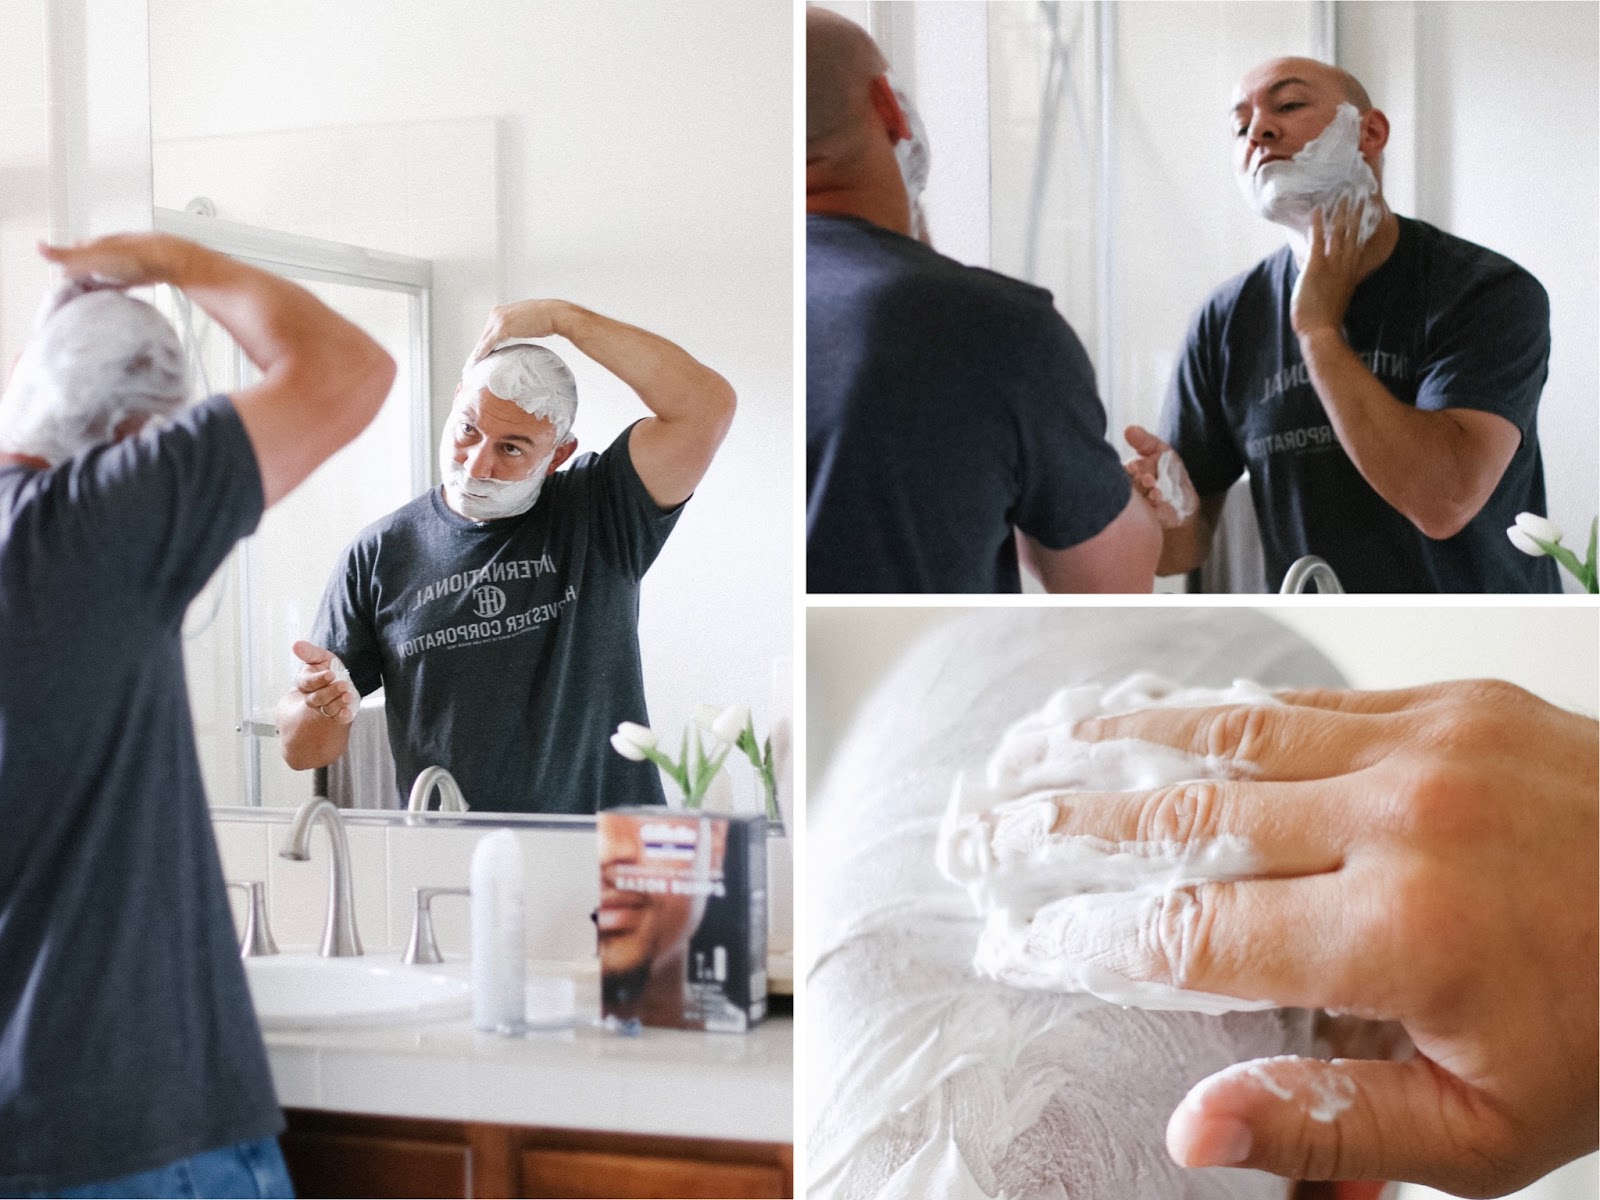
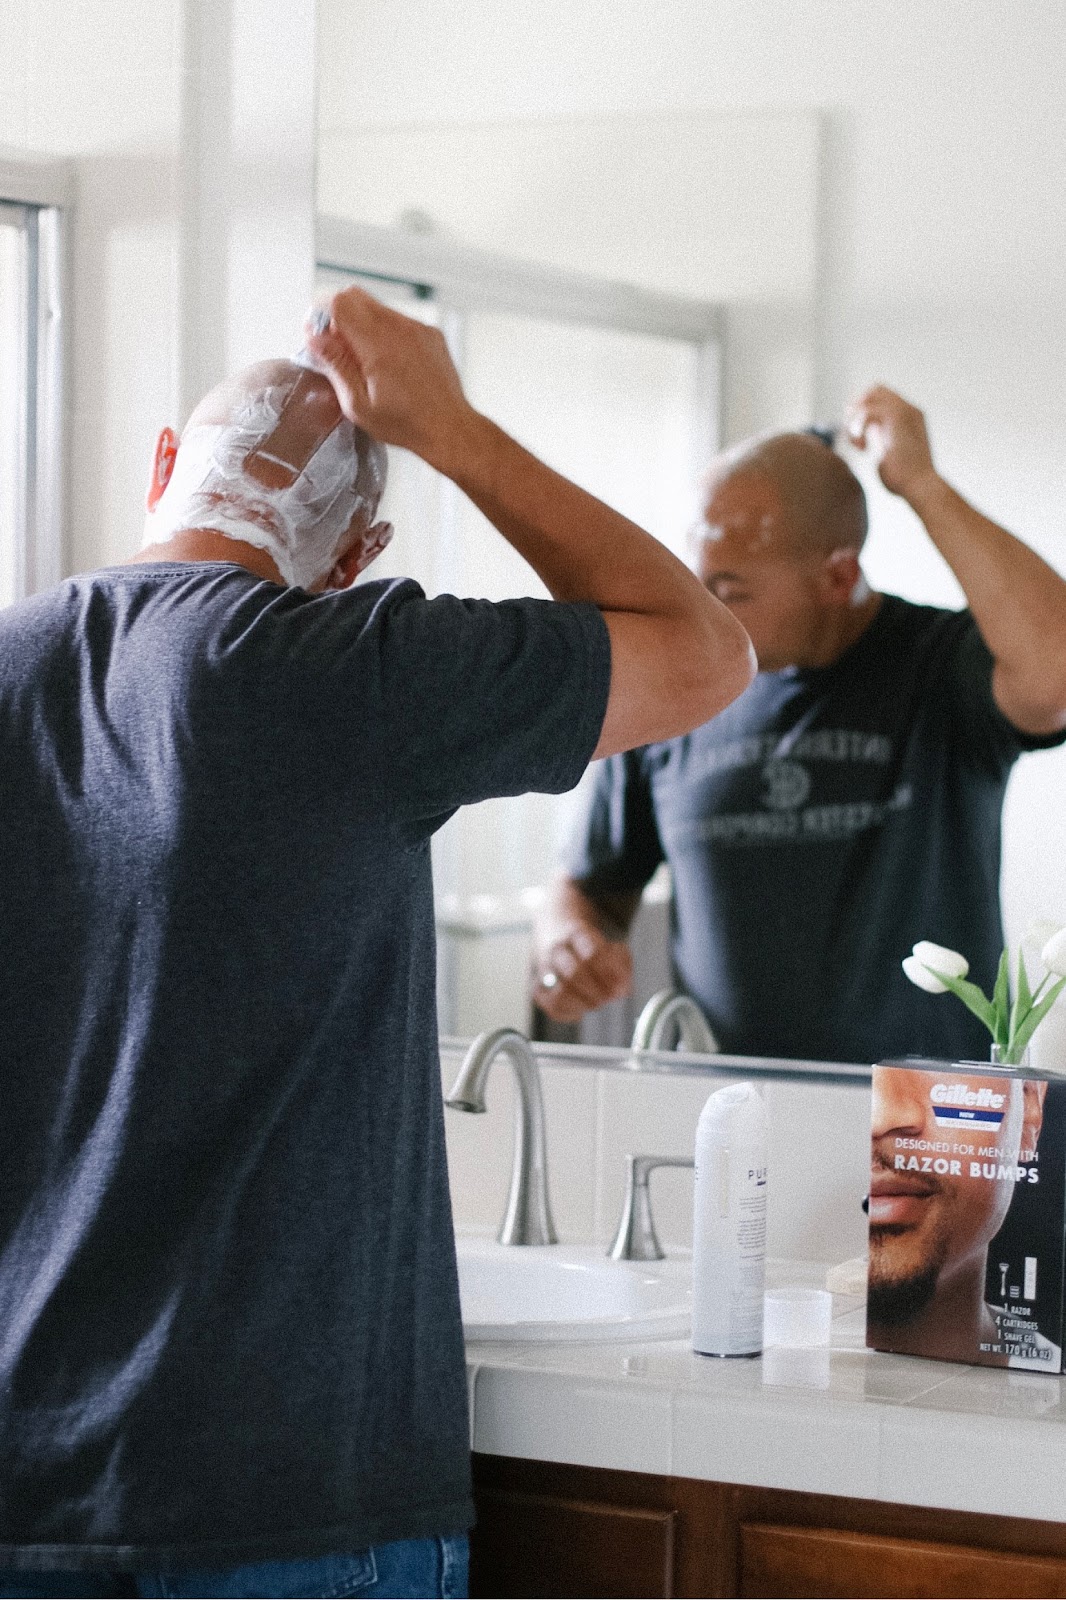
With that, came another career change for Derrick, but one thing has remained the same throughout his time in the Marine Corps and life after... and that is his classically shaved head and freshly shaved face daily. No matter what the job, shaving daily is a must for Derrick. Even after the Marine Corps, he attempted to grow out that “freedom beard” yet he only lasted 5 days before caving in and breaking out his Gillette razor. In his own words, “growing hair just didn’t feel right!”.
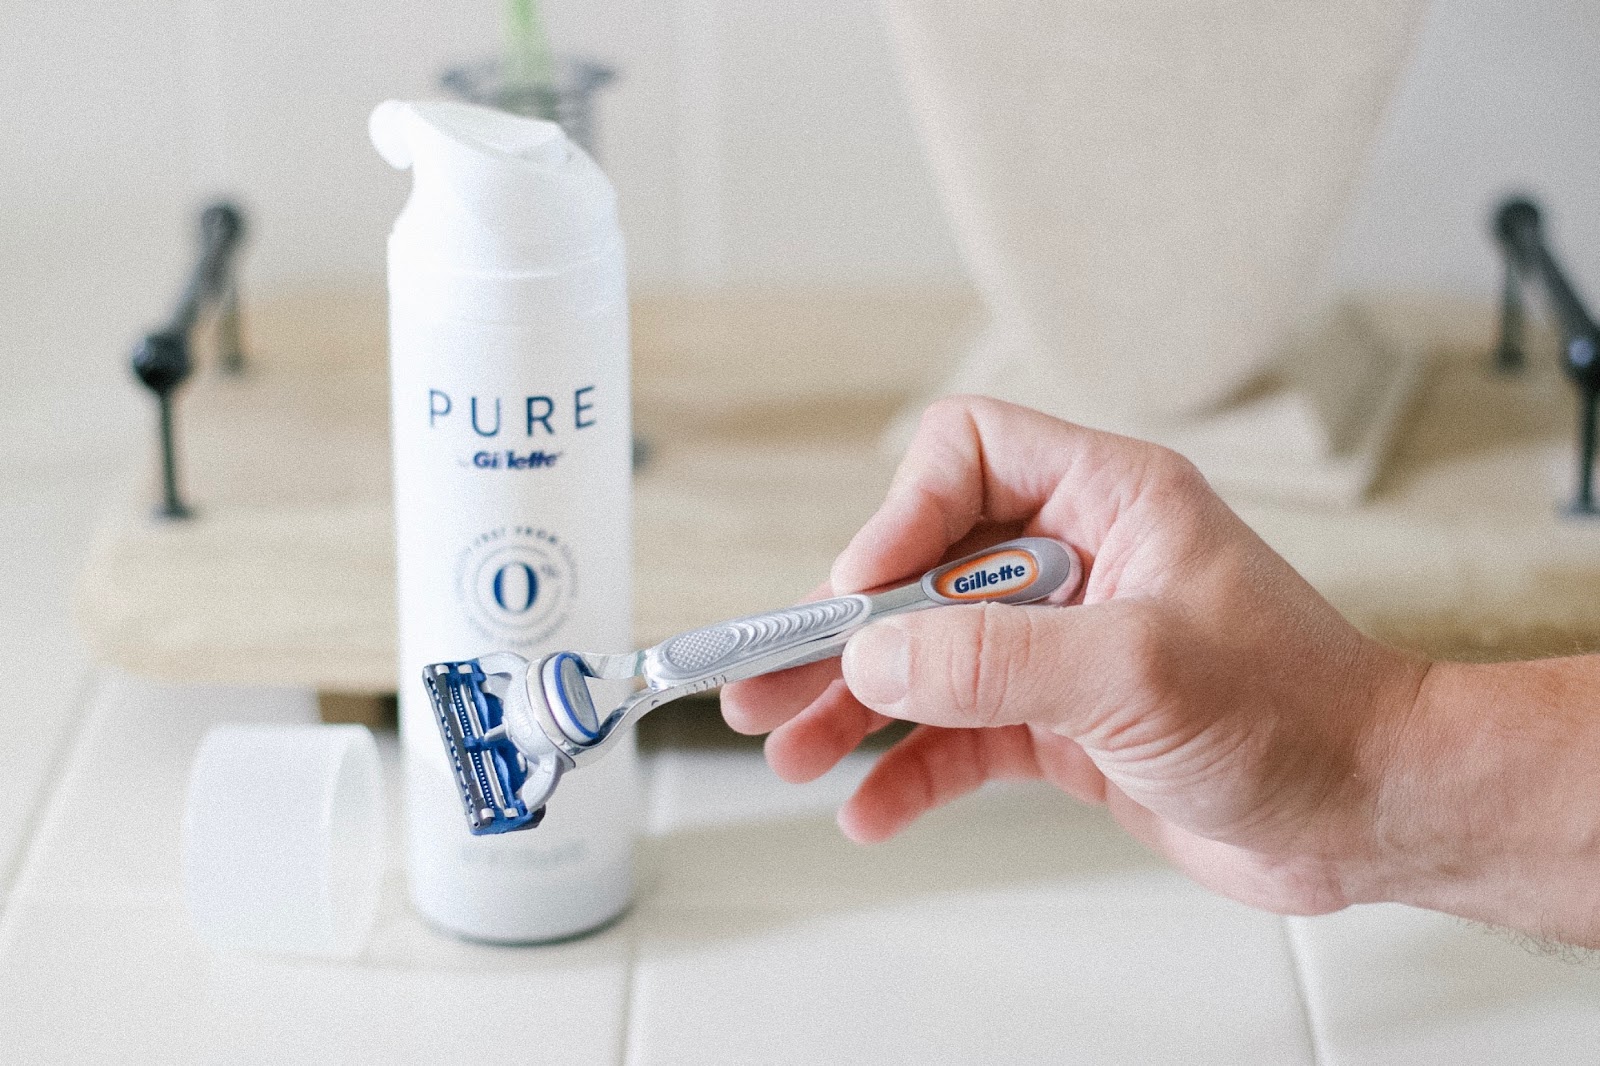
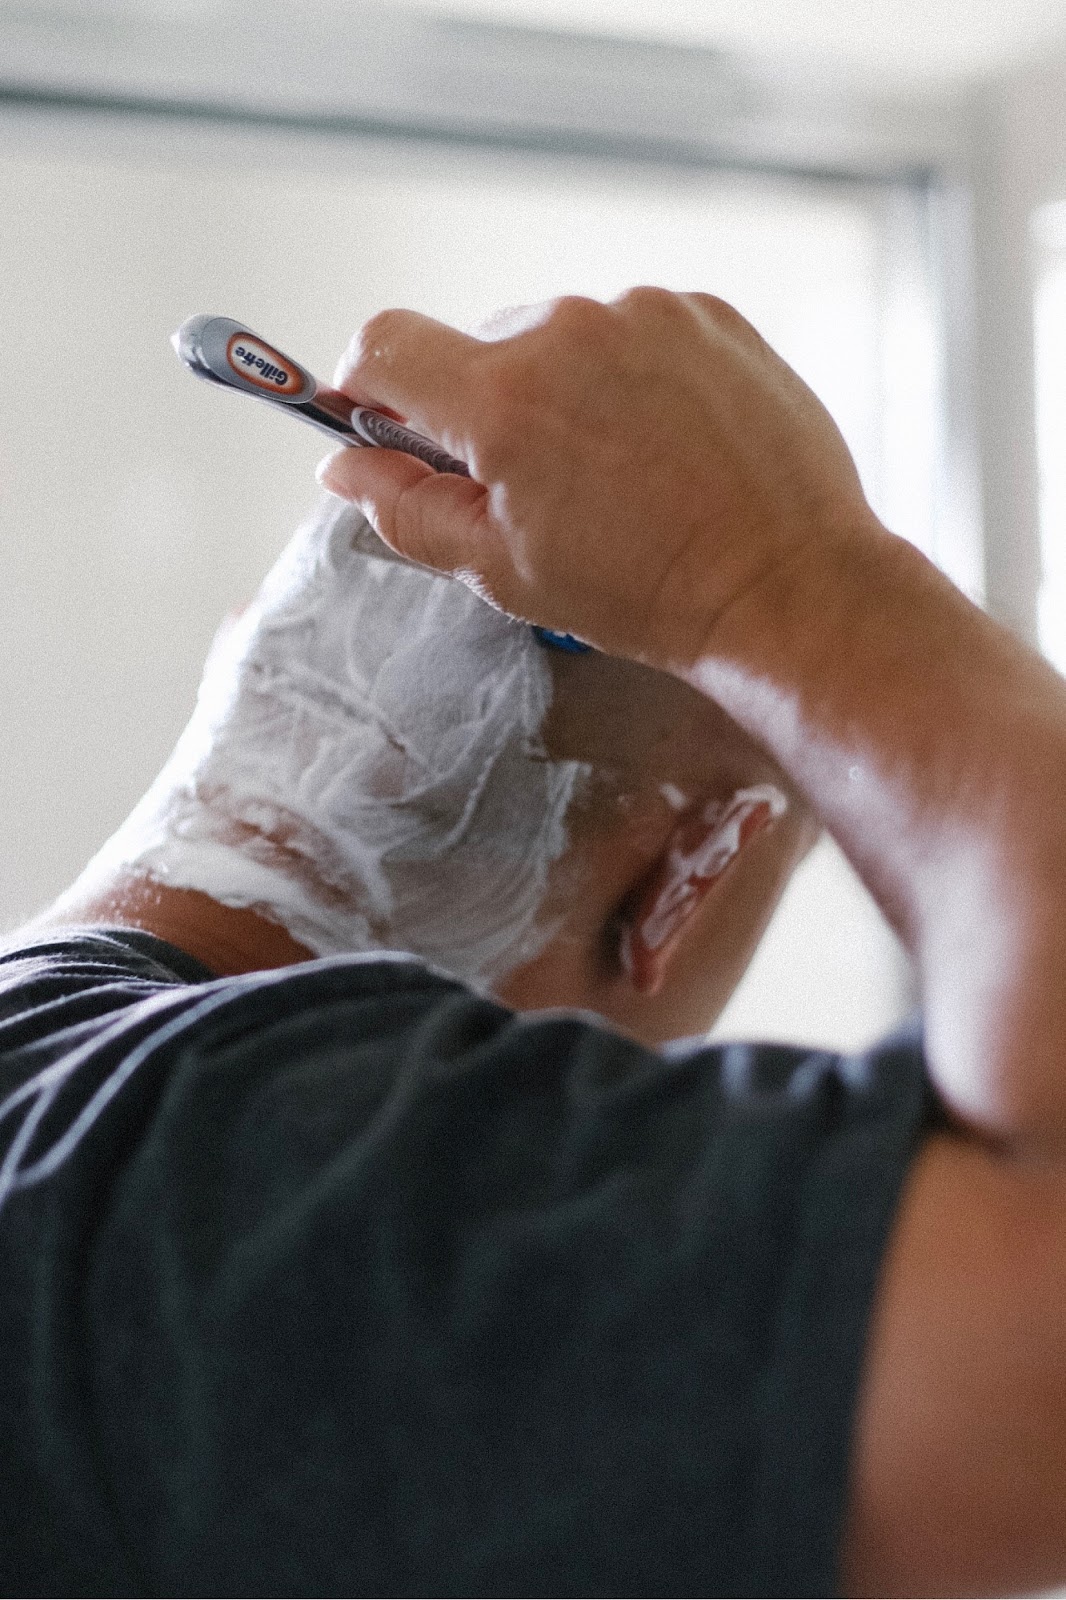
Gillette has always been D’s razor of choice and even while separated, Gillette products were always a staple in the care packages that I sent to him. Life after the military is no different and Gillette’s new skin guard razor is top of the line! As someone who saves his face and head daily, Derrick explained that this razor just glided over the skin and was surprised at what a close shave this razor gave with no skin irritation. This was top priority for him when searching for a razor since he has highly sensitive skin. Gillette’s new skin guard has unique skin guard bars positioned in between the blades to specifically reduce the “tug and pull” of the hairs and result in a close shave. The precision trimmer on the opposite side is great for hard to reach areas and styling facial hair.
Gillette has always been D’s razor of choice and even while separated, Gillette products were always a staple in the care packages that I sent to him. Life after the military is no different and Gillette’s new skin guard razor is top of the line! As someone who saves his face and head daily, Derrick explained that this razor just glided over the skin and was surprised at what a close shave this razor gave with no skin irritation. This was top priority for him when searching for a razor since he has highly sensitive skin. Gillette’s new skin guard has unique skin guard bars positioned in between the blades to specifically reduce the “tug and pull” of the hairs and result in a close shave. The precision trimmer on the opposite side is great for hard to reach areas and styling facial hair.
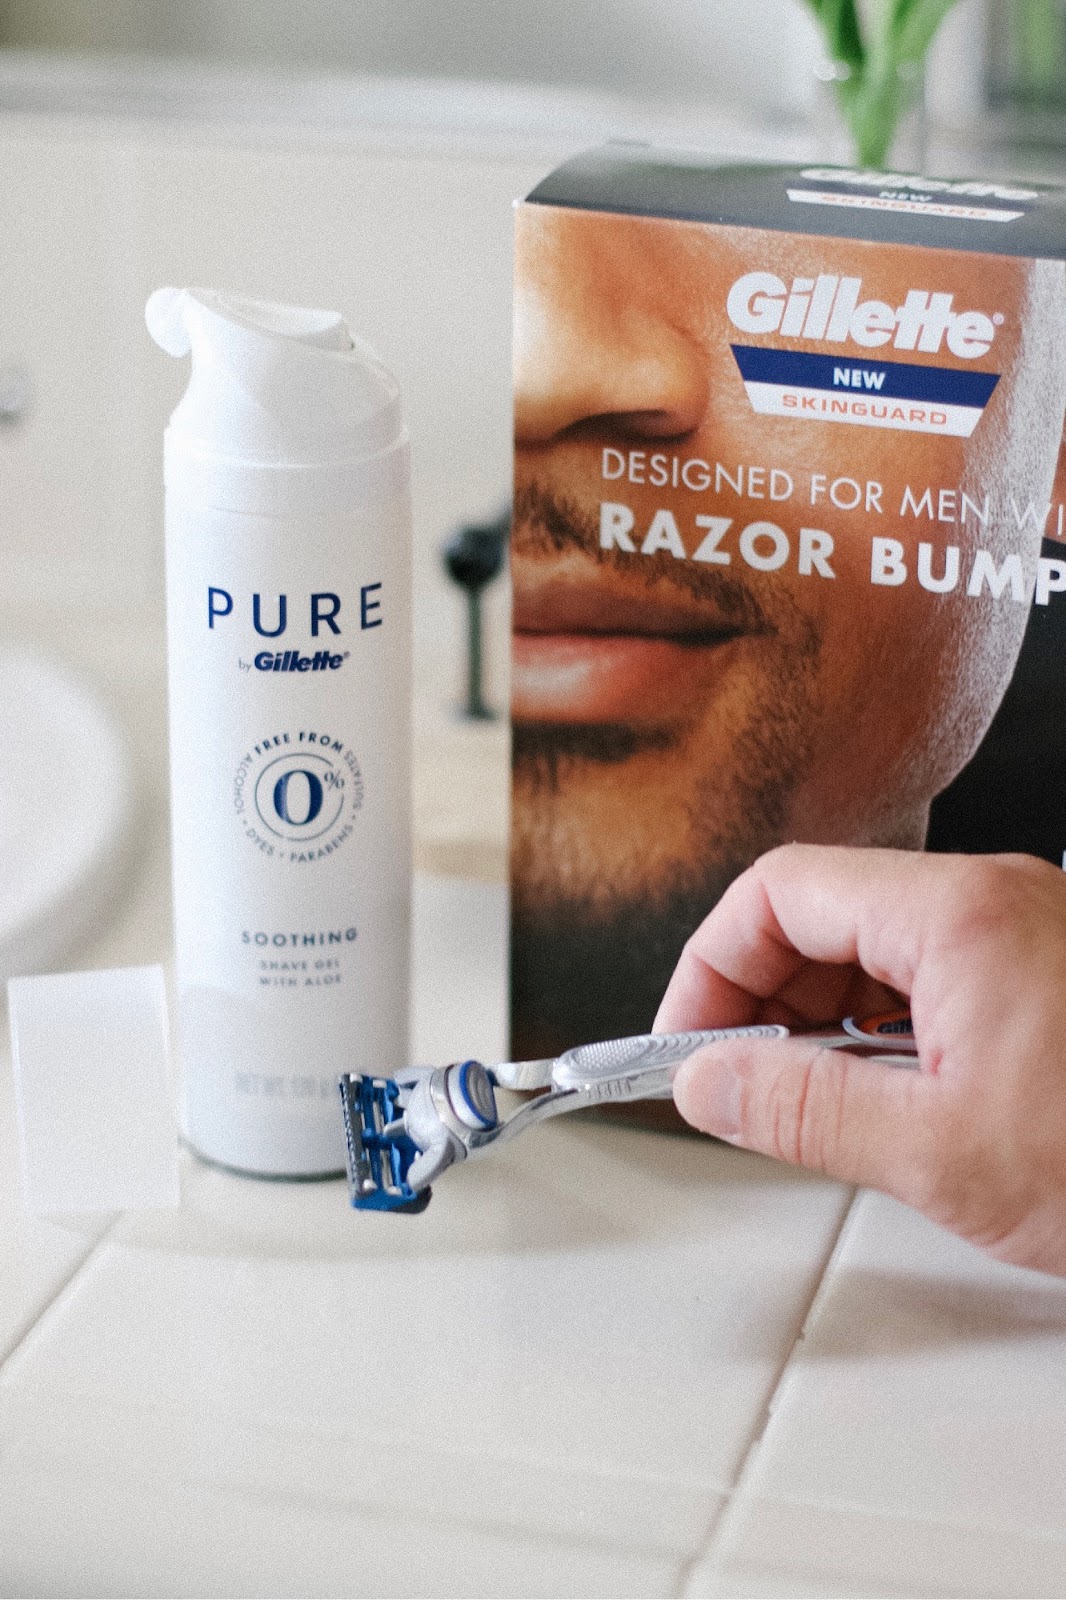

And as a wife who doesn’t love the stubble kisses, I can officially say I give the closeness of this shave two thumbs up! You can find the new Gillette skin guard set or individual products at your local Walmart.
I want to finish up this post by saying that if you or someone you know is struggling with their own civilian life transition, don’t be fearful or hesitant to reach out to us, or anyone you might trust. We all need to be there for each other. Each journey is different, but we are all family in this unique way of life. And remember, you are NOT IN THIS ALONE.
To purchase the new Gillette SkinGuard - CLICK HERE
To purchase the new Gillette SkinGuard - CLICK HERE

* This post is sponsored by Homes.com - all thoughts and ideas are my own
When you enter a marriage, you repeat the vows "for better or for worse/ for richer or poorer". Let's just say that as it goes for our marriage in the past 8 years, 80% of it has been for worse and for poorer. I am not sharing any of this to gain sympathy or pity, it is actually quite the opposite. We as a couple have faced some big downfalls. To be honest, we have even at times been on the brink of giving up. But we never have.
These 8 years have been hard, on both of us. When you mix moving (one of life's biggest stresses) and financial issues (one of the leading causes of divorce), you end up with a brewing storm of emotions. And while we are far from being out of the wind and the rain, we have managed to weather the storm together and barely hold on. Our hopes in sharing our struggles and our journey, is to hopefully help another couple out there that may be weathering the same. It is far from easy, but there are a few things we have learned along the way and through it all, love has remained the rope that has held us together.
Moving for love (that new and exciting love)
Let's travel back in time to our first move into our first little home as newlyweds, back in 2011. That little 2 bedroom/1.5 bathroom base house was the reason I started this blog of mine. It was tiny, a mere 1,200 sq. ft. at most, but it was a place to call our own (for the time being). Back then, we were nothing but excited and ready to start our lives there. We brought home our first baby to that home, we hosted our first family holiday meal in that home, and we said goodbye to all of our family and friends in that home, before making our way across the country. That home held so many firsts and memories for us and will always be the home where our story began.
Moving for love (even when you don't want to)
Fast forward to 2014, we were approaching our 3rd wedding anniversary and awaiting orders from the Marine Corps of where next we would call home. How fitting, that on our anniversary, we received the news... we were going to be headed to Georgia. While I have always loved the idea of living in different places, when you have no choice in the matter and are a planner (and slight control freak) like myself, not being in control of where your life is headed an be testing to say the least! While I never desired to call the state of Georgia home, I tried my best to take it as a new beginning and a new adventure. To leave all of my family and friends behind and everything that I ever knew as comfort, was difficult. On top of that, it wasn't just myself I was taking away from my family, I was a mom, which meant this would change everything about my child's relationship with our family members as well. Driving away after watching our last California sunset, I bawled. So much was changing, so much was unknown. The only comfort we had was a home awaiting for us and my husband's new special duty assignment. Everything else was a blank space waiting to be filled in. I grabbed my husband's hand as we drove away, with tears streaming down my face, I whispered "I'm scared." He didn't say anything in return, but his hand squeezing mine back a little harder let me know that we were in this together.
Moving for love (even when the future is unknown)
After moving to Georgia, we decided to make the best of it and even started to enjoy our new home state. It never really felt like "home" to us, but we made a few new friends, I spent my days decorating our home and raising babies, while my husband worked 18 hour days - 7 days a week. We somehow made it through our 3 (long) years on marine corps recruiting duty. I won't go into details (in this post) but those 3 years were probably the hardest of our marriage. We went through a lot between 2014-2017 and after serving 10 years in the Marine Corps, my husband decided it was time for a change. He packed away his uniform and boots and we settled on trying out Georgia as our home, in civilian life. At the time, we were perfectly content living in our rental and were even talking about buying that home once Derrick was able to establish a stable civilian job income. But soon, all of those plans were derailed. Just a month after EASing from the military, we received news that the owners of our home were selling and we needed to be out asap. So add finding a new home on top of finding a new job/ jobs. We were hit with a ton of bricks. No money saved, no guaranteed job in sight, no idea where or how we would find a new home, at that point everything in the future was unknown. We had no idea what to do, but pray. We knew that no matter what we were facing, again, we would face it together.
Moving for love (even when it means taking a big financial leap)
Eventually, we did find a house, it was run down, in horrible condition and needed a whole lot of work just to move in, but it was a roof over our heads. We tried our best to clean that rental up as best we could, then made it into our own with paint and filled it with the things we loved. Soon, it felt like home. As for the job search, in 2017 Derrick worked three jobs just to make ends meet, until finally getting hired on with our county police department. We were still far from making it, but we were somehow making ends meet. We still knew that Georgia wasn't our forever home, but we started to become content in where we were. Until mid 2018... I started to feel the urge to want to be back home. To raise my children near family, to seek larger opportunities for my own career. We started talking about all of the many reasons that California felt like the right decision. The one big part though... we sure didn't have any money saved up and financially were not in the position to save any to make the move happen, and secondly California is extremely expensive and would require both of us to make triple our current income. There were so many pluses, but one huge financial obstacle in the way. It took months of talking and weighing options to come to our decision but Derrick was willing to move back to California for me, for our kid's sake and for our future. We sold most of our large furniture and tons of other things around the house just to fund our move. We took a huge leap of faith and trusted in each other that we could make this work.
At the end of January 2019, we loaded everything we owned into a 26 foot moving truck and drove across the country. Ironically, we celebrated our 8th wedding anniversary on that road trip, stopping somewhere along the way for McDonalds with the kids and enjoying our "anniversary celebration".
Now, here we are, just 2 weeks (as of today) settled in our new home in southern California. We have been surviving on the last little bit of money we saved from selling nearly everything we owned and a bit of help from family. We took a huge risk to get here but still feel it was the right decision. Through it all, we have both made sacrifices. Were we both happy through all of it? Far from it... We have had many many arguments over the years. But we made it through, together and relied on our love to guide us.
Tips to take away:
Lean on each other - Moving or any big life change is stressful enough. In times like these we can often try to find blame to put on the other person, to take out all of our fear and anger on our significant other. Try to understand what your significant other may be facing and if you do find your relationship in a downward spiral, take a moment and try to pinpoint where those hurtful words or actions may be coming from. Often it is much simpler. Realize you both are climbing the same mountain and help boost each other up until you reach the top.
Give each other space - Sometimes moving, wether before or after, can bring up a lot of emotions. You are either freaking out about the million things on your to-do list before move day or you have held it all together and are now settled into your new home and are emotionally and physically drained and all of those hid away feelings come bubbling to the surface. Sometimes the best thing you can do for yourself or your significant other is to get out and do something for yourself. Maybe it's a long walk, or 30 min just to sit in a local coffee shop by yourself or a long drive with music blasting. Allow yourself a moment to clear your head and reset.
Talk it out - I can't even count how many times one of us has blurted out something hurtful to the other. for example, just this week D yelled out of frustration, "Screw this, we will never get out of this hole we are in, moving here was a horrible mistake." I knew he didn't mean it, but I did understand where that frustration stemmed from. It stemmed from the stress of knowing we took a big financial risk to move here and now we have no option but to make it work. On top of that, my husband finds his identity in his work, with not working full time right now and with the fear of not being able to provide for his family, he takes all of this stress on his shoulders and many times we all can take out our frustrations in not so nice ways. I knew once this comment was made, we needed to talk. I needed to be there to reassure him why we made this move. I had to give him faith that this would all work out in the end, and in the meantime, we are on the same team. Talk out your frustrations, talk out your fears, talk out your plans. Be the pillar that the other one needs.
If you are facing a move in your future, or maybe just treading through some big changes in life right now, I hope that you know that you are not the only couple going through this. You are not alone in feeling like you just can't see the light at the end of the tunnel some days. Just remember you and your significant other/ spouse are in this together and you will get through it together. With a little grace, a little sacrifice, a little trust and a little love.
Are you MOVING FOR LOVE?
Visit Homes.com to see the stats of moving for love....
Are you MOVING FOR LOVE?
Visit Homes.com to see the stats of moving for love....
Subscribe to:
Posts (Atom)


